If you wish to have a document(s) served via Email, Certified Mail, or First Class Mail to any person but not file the documents in the court, Create Serve Only is the option to use. When filers click the Submit button, the application sends the document(s) to the selected contacts only. The documents are NOT filed with the court.
Create Serve Only
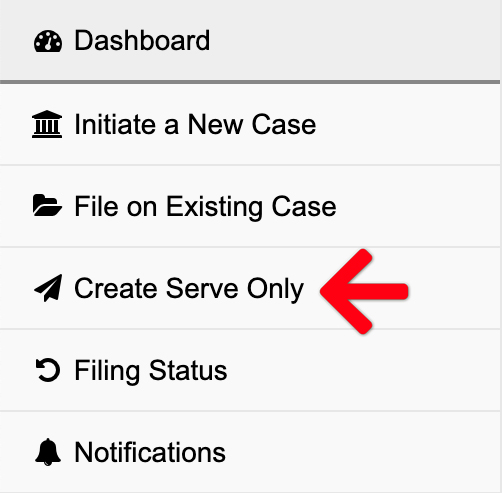
From the Dashboard, click Create Serve Only

1. Select Case – Choose your case, or click add a case to retrieve your case from the court’s system.
You now have the choice to create a serve only filing to electronically serve parties in an existing court case or one not associated with a case.
Serve Only – Existing Court Case

If you select the option Serve Only – Existing Court Case, you may create a serve only filing for any case available in the e-filing system. If you do not see your case in the menu, click the Add a Case link. You may need to do an advanced case search by Party Name if it doesn’t come up on the first try.
Serve Only – Not Associated with a Case
If you wish to serve documents to a party where a case number does not exist (or for a case that is not available in the e-filing system), you may select Serve Only – Not Associated with a Case to send a party or parties documents via email. You will then have the choice to select an existing Service List of parties or add a Service List to create a new list of parties to be electronically served.
2. Add Documents – Define, select, and upload the documents that make up your filing.
- The system automatically names the Document Type.
- Enter the Remainder of Title: Type the true document title in the document description field.
- Click the Click to Upload link to add your document. We’ll automatically convert most native file formats (i.e. Word, WordPerfect, JPG, PNG, GIF, TIF) into the Court’s preferred Adobe PDF format, upon upload.
- Click the Edit button to edit a description, delete a document, or replace a document.
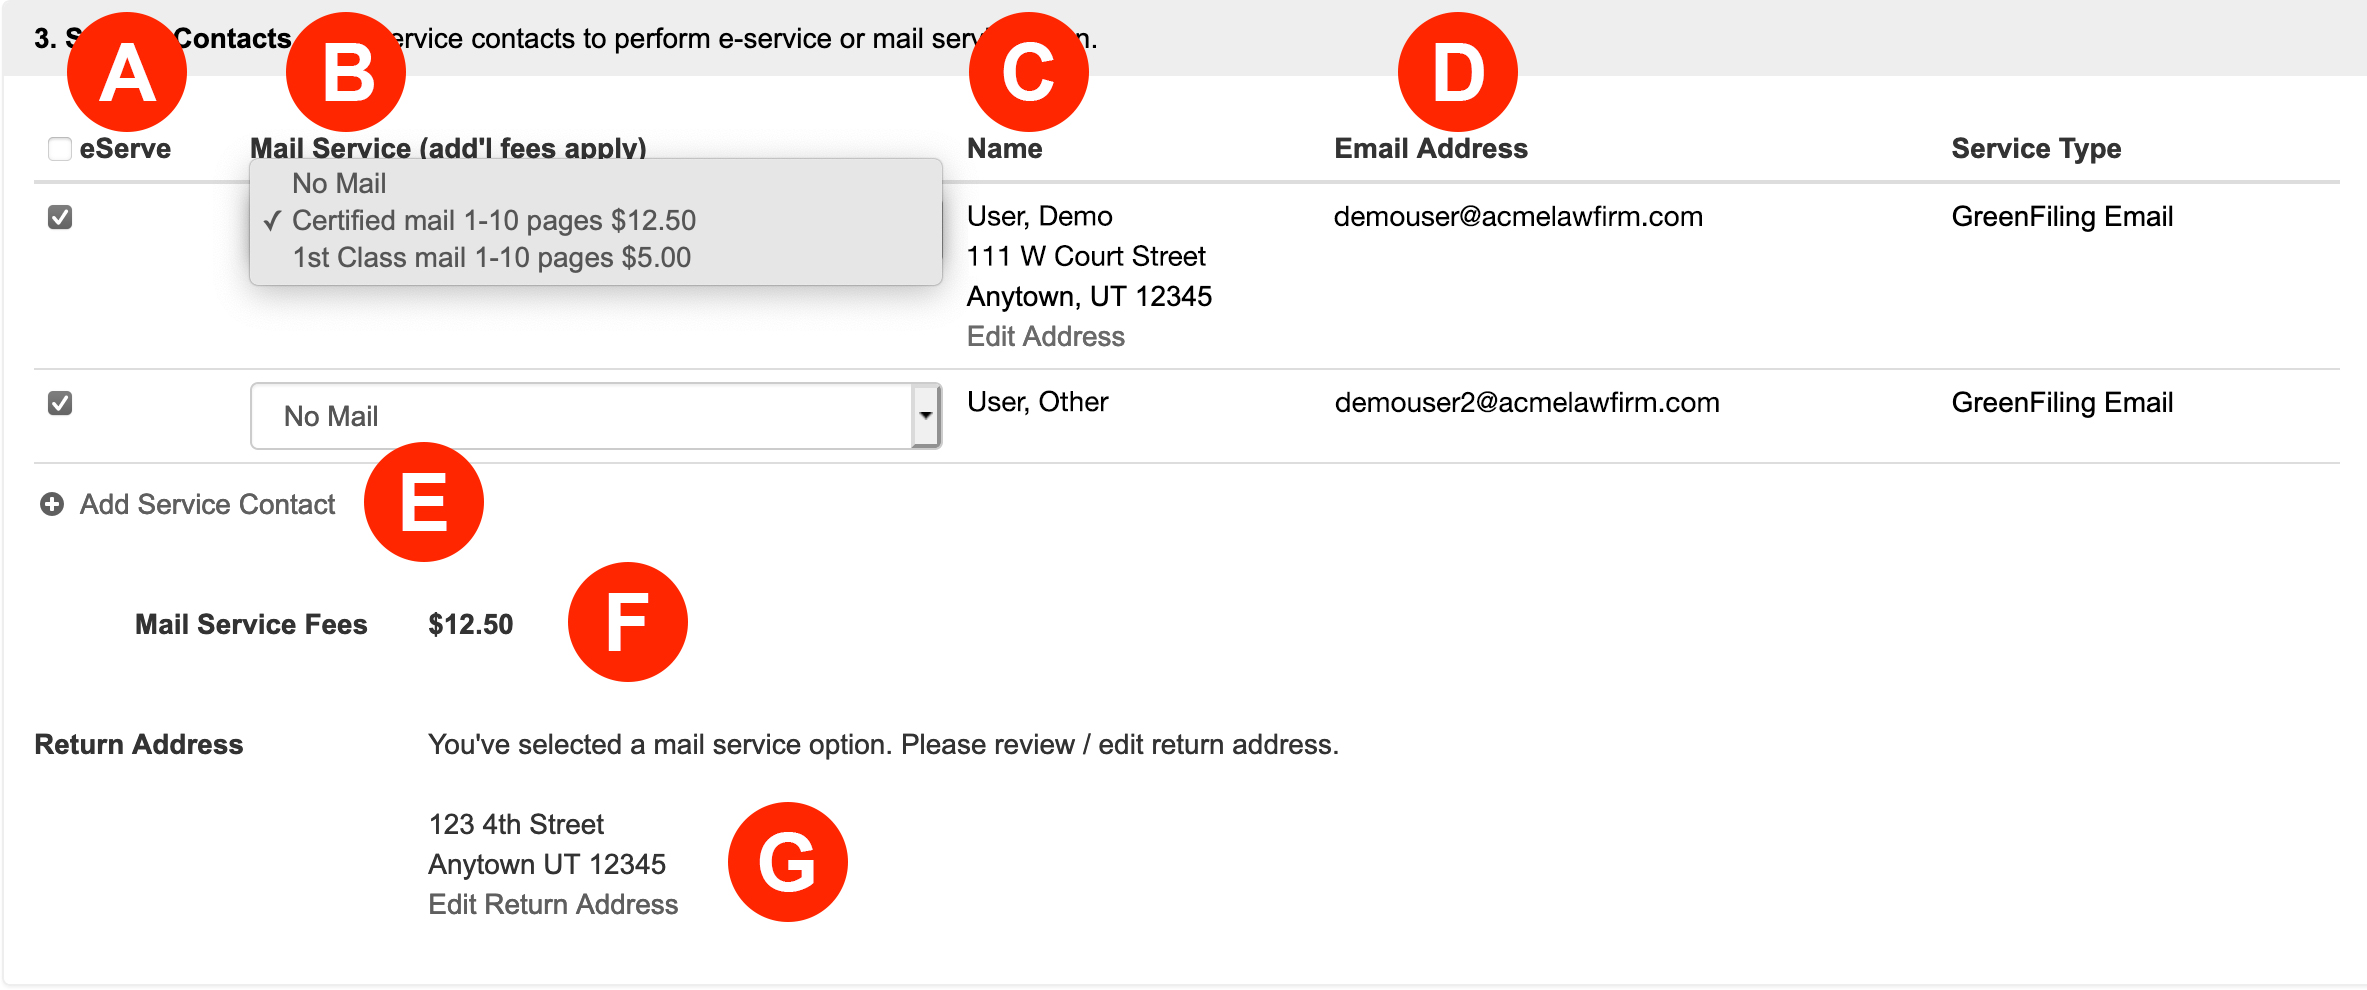
3. Service Contacts – Add or select service contacts to perform electronic service. Service contacts provided by the court are annotated with and may not be edited.
- eServe – Check the box for any service contact listed to electronically serve the uploaded documents via email.
- Mail Service – Filers may now choose to send the documents via Certified or First Class Mail for an additional fee by selecting one of those types for each contact in this column.
- Name – If a user selects Mail Service, the contact’s address will display under their name. If they do not have an address on file, the system immediately prompts a user to add one upon selection of the service.
- Email Address – Only the user who adds the service contact originally may edit the address at a later time.
- Add Service Contact – If the filer wishes to add a Service Contact not listed, they may click the Add Service Contact link. The system will list this new contact as a Green Filing Email in the Service Type column.
- Mail Service Fees – Green Filing will invoice the filer the Mail Service Fees at the end of each month.
- Return Address – Your firm’s return address for any mail related issues.
Learn More about our new Mail Service via Certified and First Class Mail
4. Review & Submit – Finalize your submission, review, and submit.
- Review all entries
- Enter an internal Client Matter Number if needed
- Click the Submit Service button when ready
Congratulations! You have submitted your document(s) for electronic and / or mail service. You may return to this filing from the Filing Status screen at any time to view updates on the selected service.


