For users that have enabled Auto-File on their account, you may follow the steps below to file on an existing case where our system will attempt to extract all relevant document and party information from your uploaded documents to reduce your filing time.
File on an Existing Case
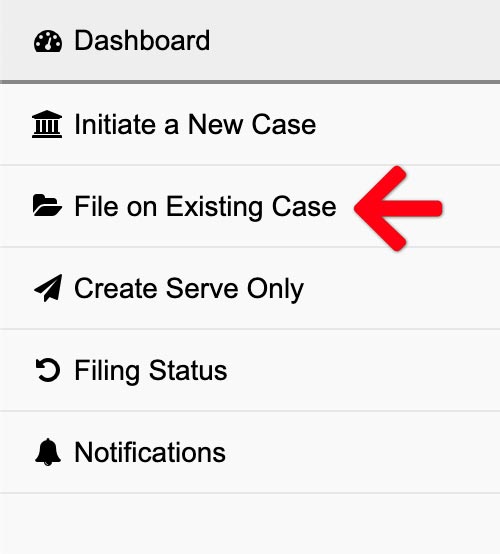
From the Dashboard, click File on an Existing Case
Upload Documents to Begin
When users initiate a case with Auto-File enabled, they will be greeted with a brand-new document upload screen. This updated interface is designed to streamline the process of uploading and extracting data from your documents.
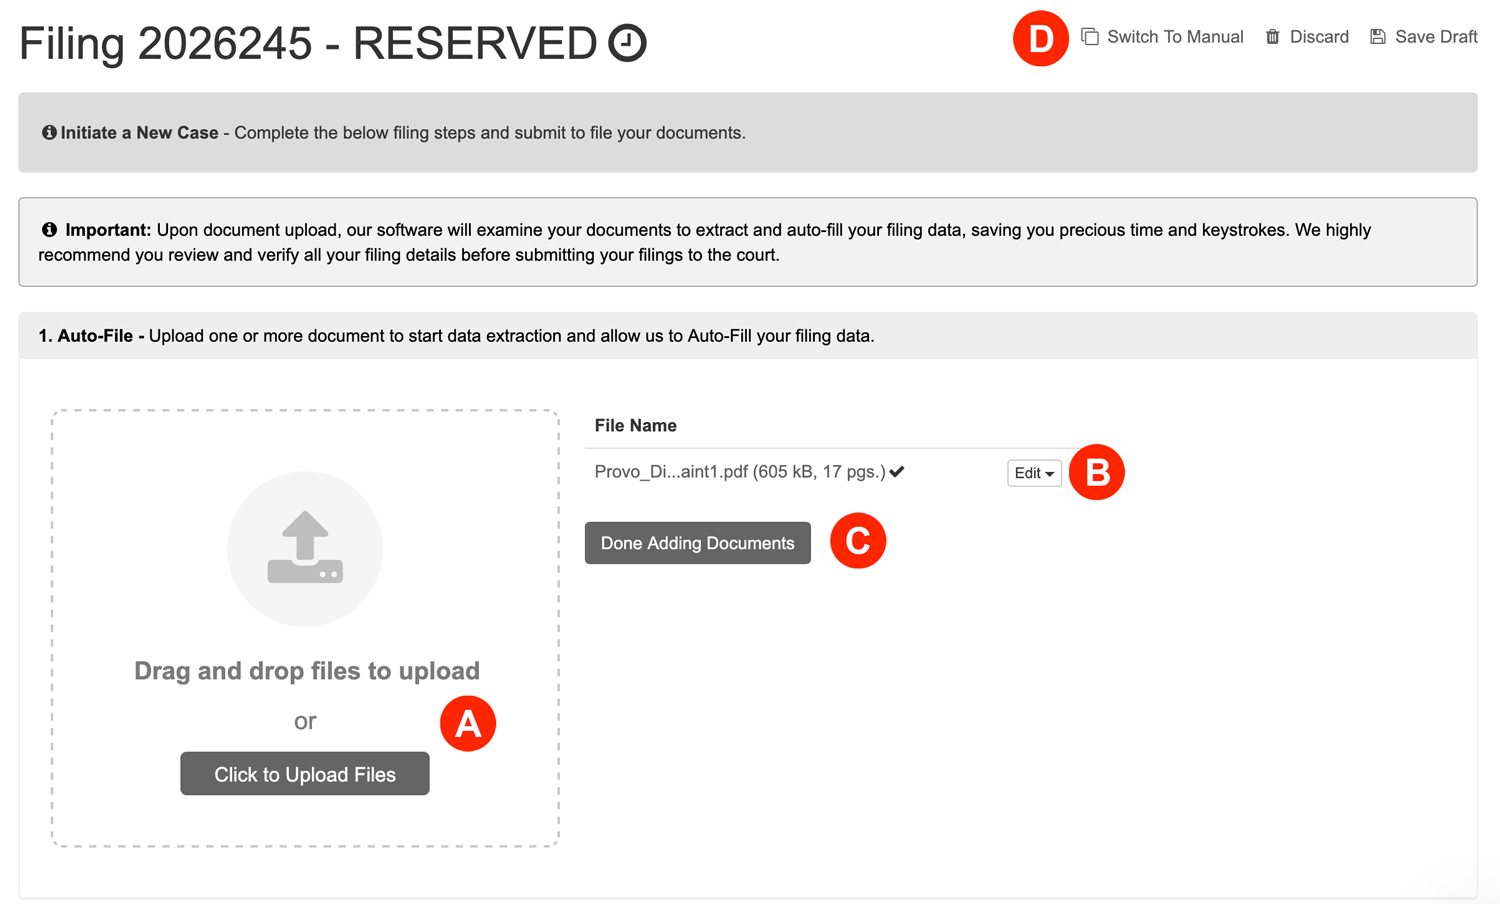
- Drag and Drop Files to Upload – Filers may either drag and drop their documents into the box or click the Select Files link to open their computer’s file manager and select their files individually. We’ll automatically convert most native file formats (i.e. Word, WordPerfect, JPG, PNG, GIF, TIF) into the Court’s preferred Adobe PDF format, upon upload.
- Edit – Click the EDIT button to delete or replace uploaded documents
- Done Adding Documents – Click the Done Adding Documents button and our software will begin filling out your filing based on your document’s extracted information.
- Switch to Manual – Click the Switch to Manual link at anytime to fill out a filing traditionally.
With the extraction complete, our system will auto-fill your court and case type.
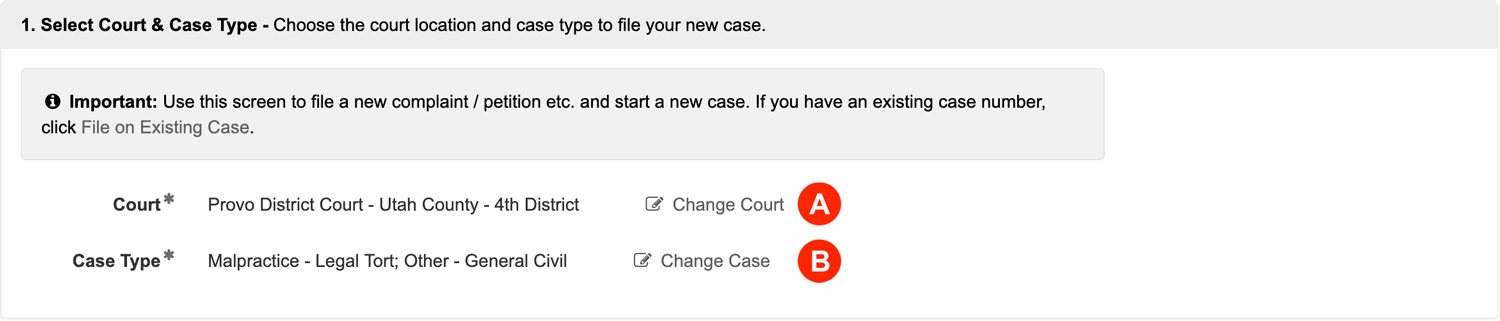
- Court – Verify your court location. If needed, click the Change Court link to update it.
- Case Type – Verify your case type. If needed, click the Change Case link to update it.
2. Add Documents – Define, select, and upload the documents that make up your filing.

- Document Type, Remainder of Title, and Edit Uploaded Document – Verify the selected document type, document description, and uploaded document(s) for accuracy. You may click the Edit button to update any document type, document description, delete a document, and/or replace a document.
- Add Document – Click the Add Document link to upload additional documents.
3. Additional Info – Enter any additional information that is required for this filing type.

Enter any Additional Information that the court requires for this filing type. Anything with a red asterisk is required.
4. Mail Service and Additional e-Service – Serve documents by mail and / or electronically serve anyone not being served by the Court’s Notification of Electronic Filing (NEF).
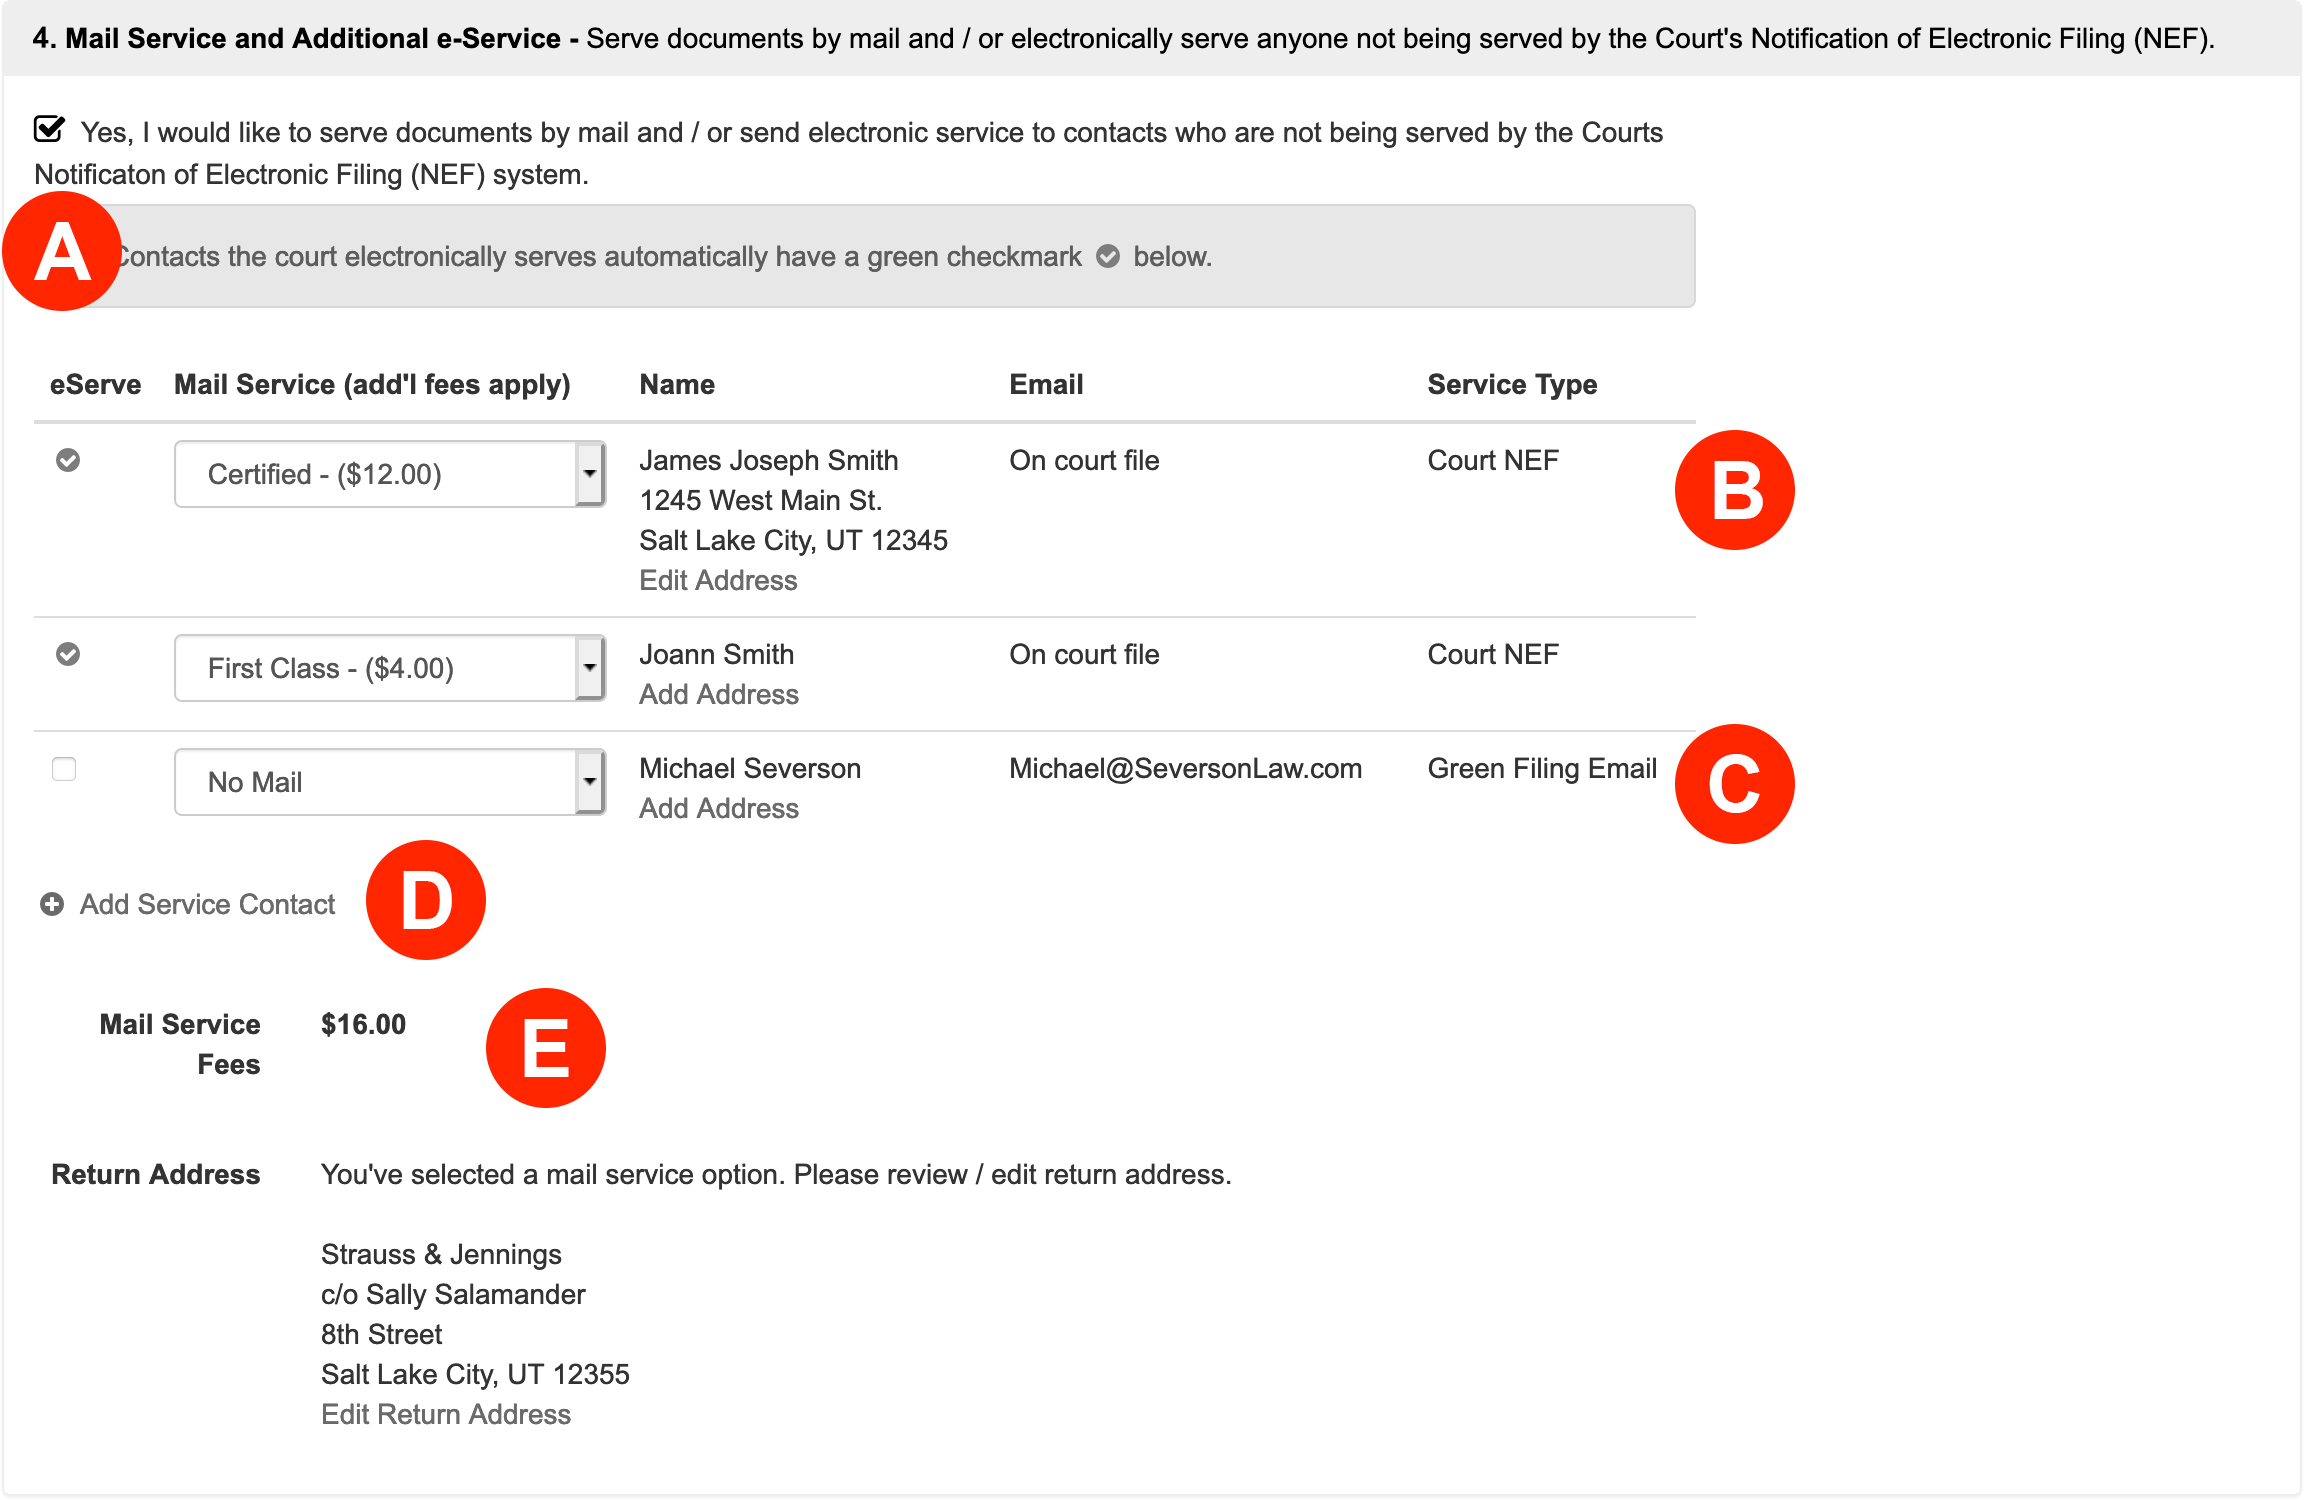
Filers have the option to both electronically serve anyone not being served by the Court’s Notification of Electronic Filing (NEF) and serve documents by mail.
- Check the box for Yes, I would like to send electronic service to contacts who are not being served by the Courts Notification of Electronic Filing (NEF) system. to view Court NEFs and any Service Contacts already added.
- Filers may now choose to send Court NEFs the documents via Certified or First Class Mail for an additional fee by selecting one of those types in the Mail Service column.
- If a user has added a Service Contact to the case that is not a Court NEF, the system lists them as a Green Filing Email in the Service Type column. Additionally, the filer may check the first box of that row to send them the document via e-Service or select a Mail Service type from the drop down.
- If the filer wishes to add a Service Contact not listed, or enter a different email for a Court NEF than the one that court has on file, the user may click the Add Service Contact link. The system will list this new contact as a Green Filing Email in the Service Type column.
- Mail Service Fees – Green Filing will invoice the filer the Mail Service Fees at the end of each month.
5. Filing Fees – Select or enter a payment method to pay court filing fees.

Select or enter a Payment Method to pay court filing fees. If there aren’t any cards available, click the Add New Payment Method link.
Sales Tax – Sales tax may appear in the fees section because some state governments classify the e-filing service itself as a taxable transaction or service, requiring the payment processor to collect and remit the applicable state sales tax on the charge for filing.
6. Review & Submit – Finalize your filing, review, and submit.
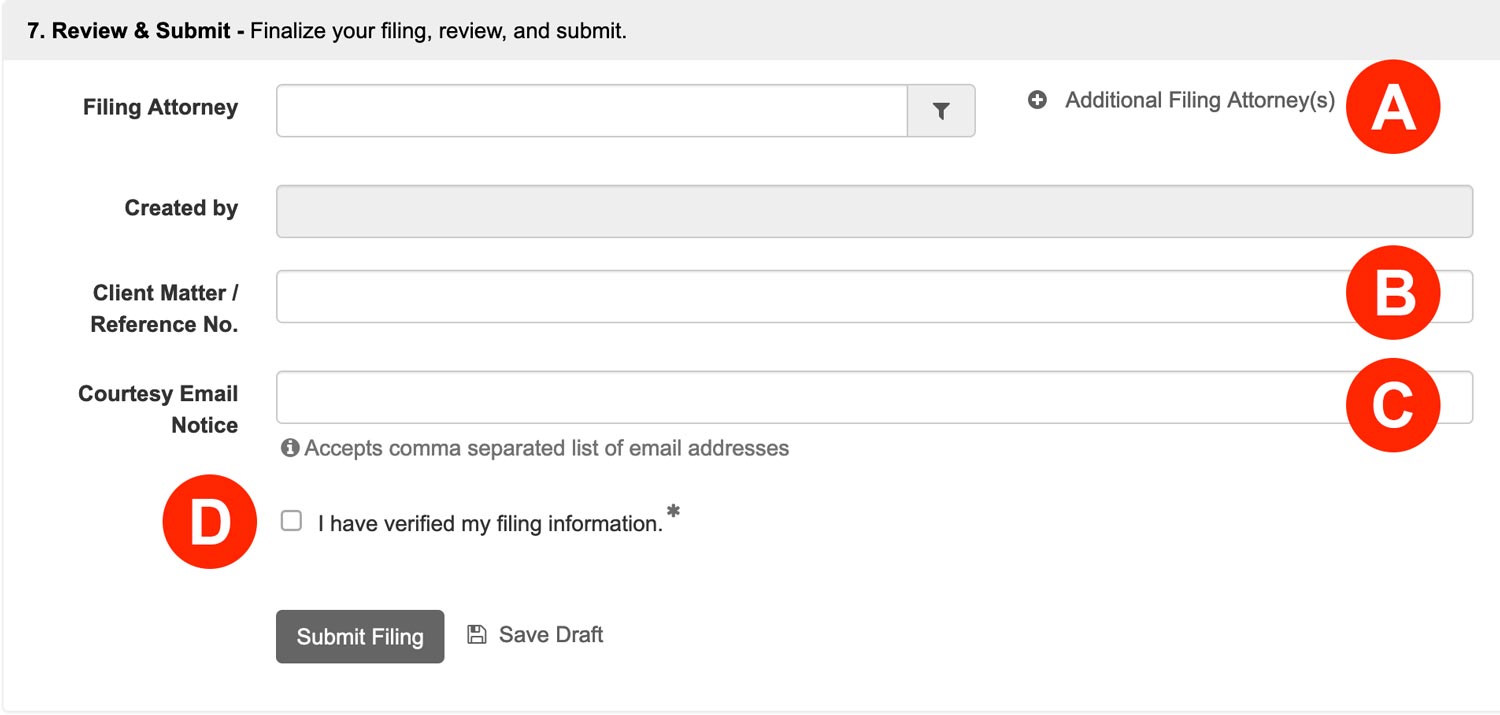
- Filing Attorney – If you are Filing for an Attorney, select them from the menu. You may also Add Additional Attorneys.
- Client Matter / Reference No. – If your firm uses any sort of Client Matter No, enter it here.
- Courtesy Email Notice – If you want an unofficial copy of the filing to go to anyone associated with the case, like a client, enter their email(s) in this field.
- Review your entire filing for accuracy, Then check the box to acknowledge you have verified your filing information.
Click the Submit Filing button to send your filing to the court.