A Motion to Waive Court Fees may be e-filed along with your document that requires a Court filing fee as a means to submit your filing requesting a waiver of Court fees. Currently, the Court still requires you input a credit card for payment of filing fees, however the Court will not charge that card for filing fees if the Motion to Waive Court Fees is submitted.
If the Court later determines that you application for waiver of fees is denied, they will contact the filer in order to make sure the appropriate filing fees are correct.
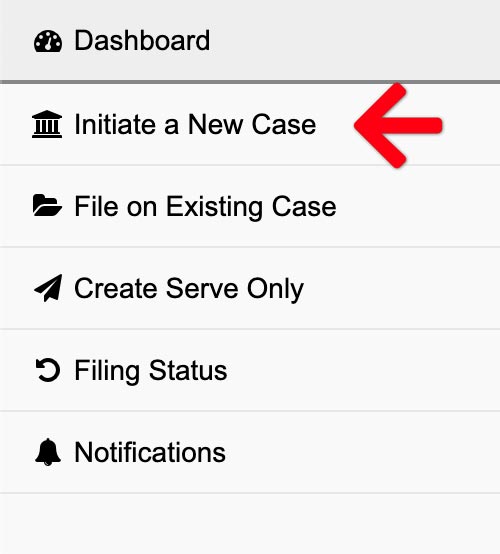
Initiate a New Case
Click the Initiate a New Case link from the left menu of the Dashboard to begin:
1. Select Court & Case Type – Choose the court location and case type to file your new case.
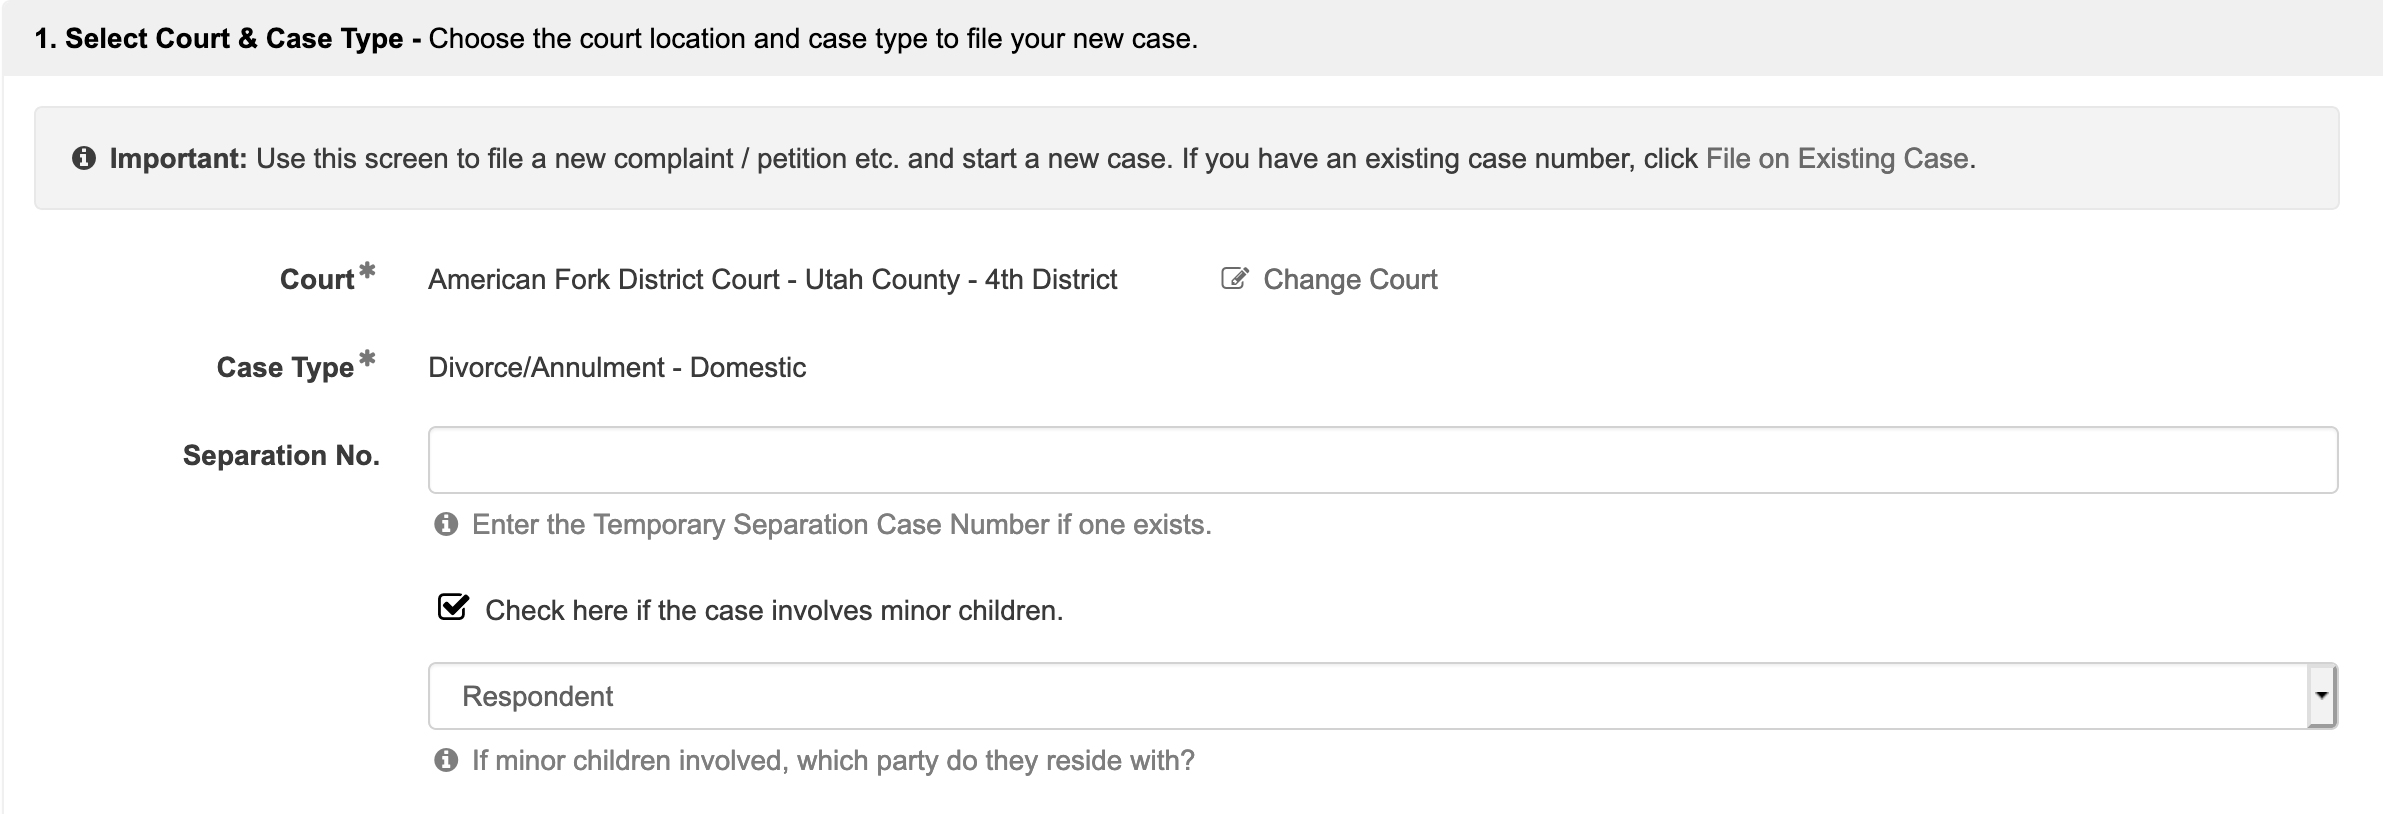
If you have a question as to the court to select, please refer to Utah’s Case Initiation Business Rules for General Civil, Domestic, and Probate PDF here for more information.
2. Add Documents – Define, select, and upload the documents that make up your filing.
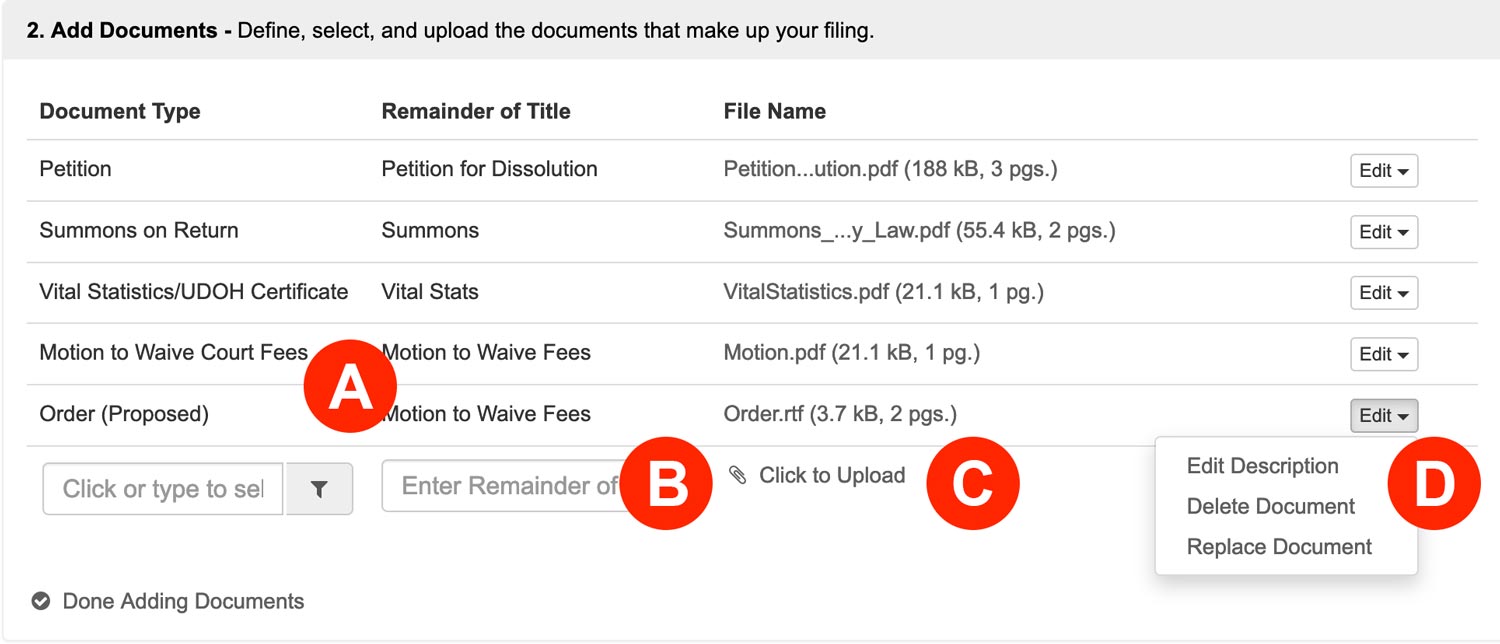
The court requests that you submit a Order (proposed) for Motion to Waive Court Fees.
- Document Type – Select your initiating document types. To motion the court to waive fees, you must also select the document types Motion to Waive Court Fees AND Order (Proposed). Then upload the Motion in PDF format and the Order in a RTF format.
- Remainder of Title – After making your selection, type the true document title in the document description field.
- Click to Upload – Click the Click to Upload link to add your document. We’ll automatically convert most native file formats (i.e. Word, WordPerfect, JPG, PNG, GIF, TIF) into the Court’s preferred Adobe PDF format, upon upload.
- Edit – Click the Edit button to edit a description, delete a document, or replace a document.
3. New Case Parties – Enter the required parties.
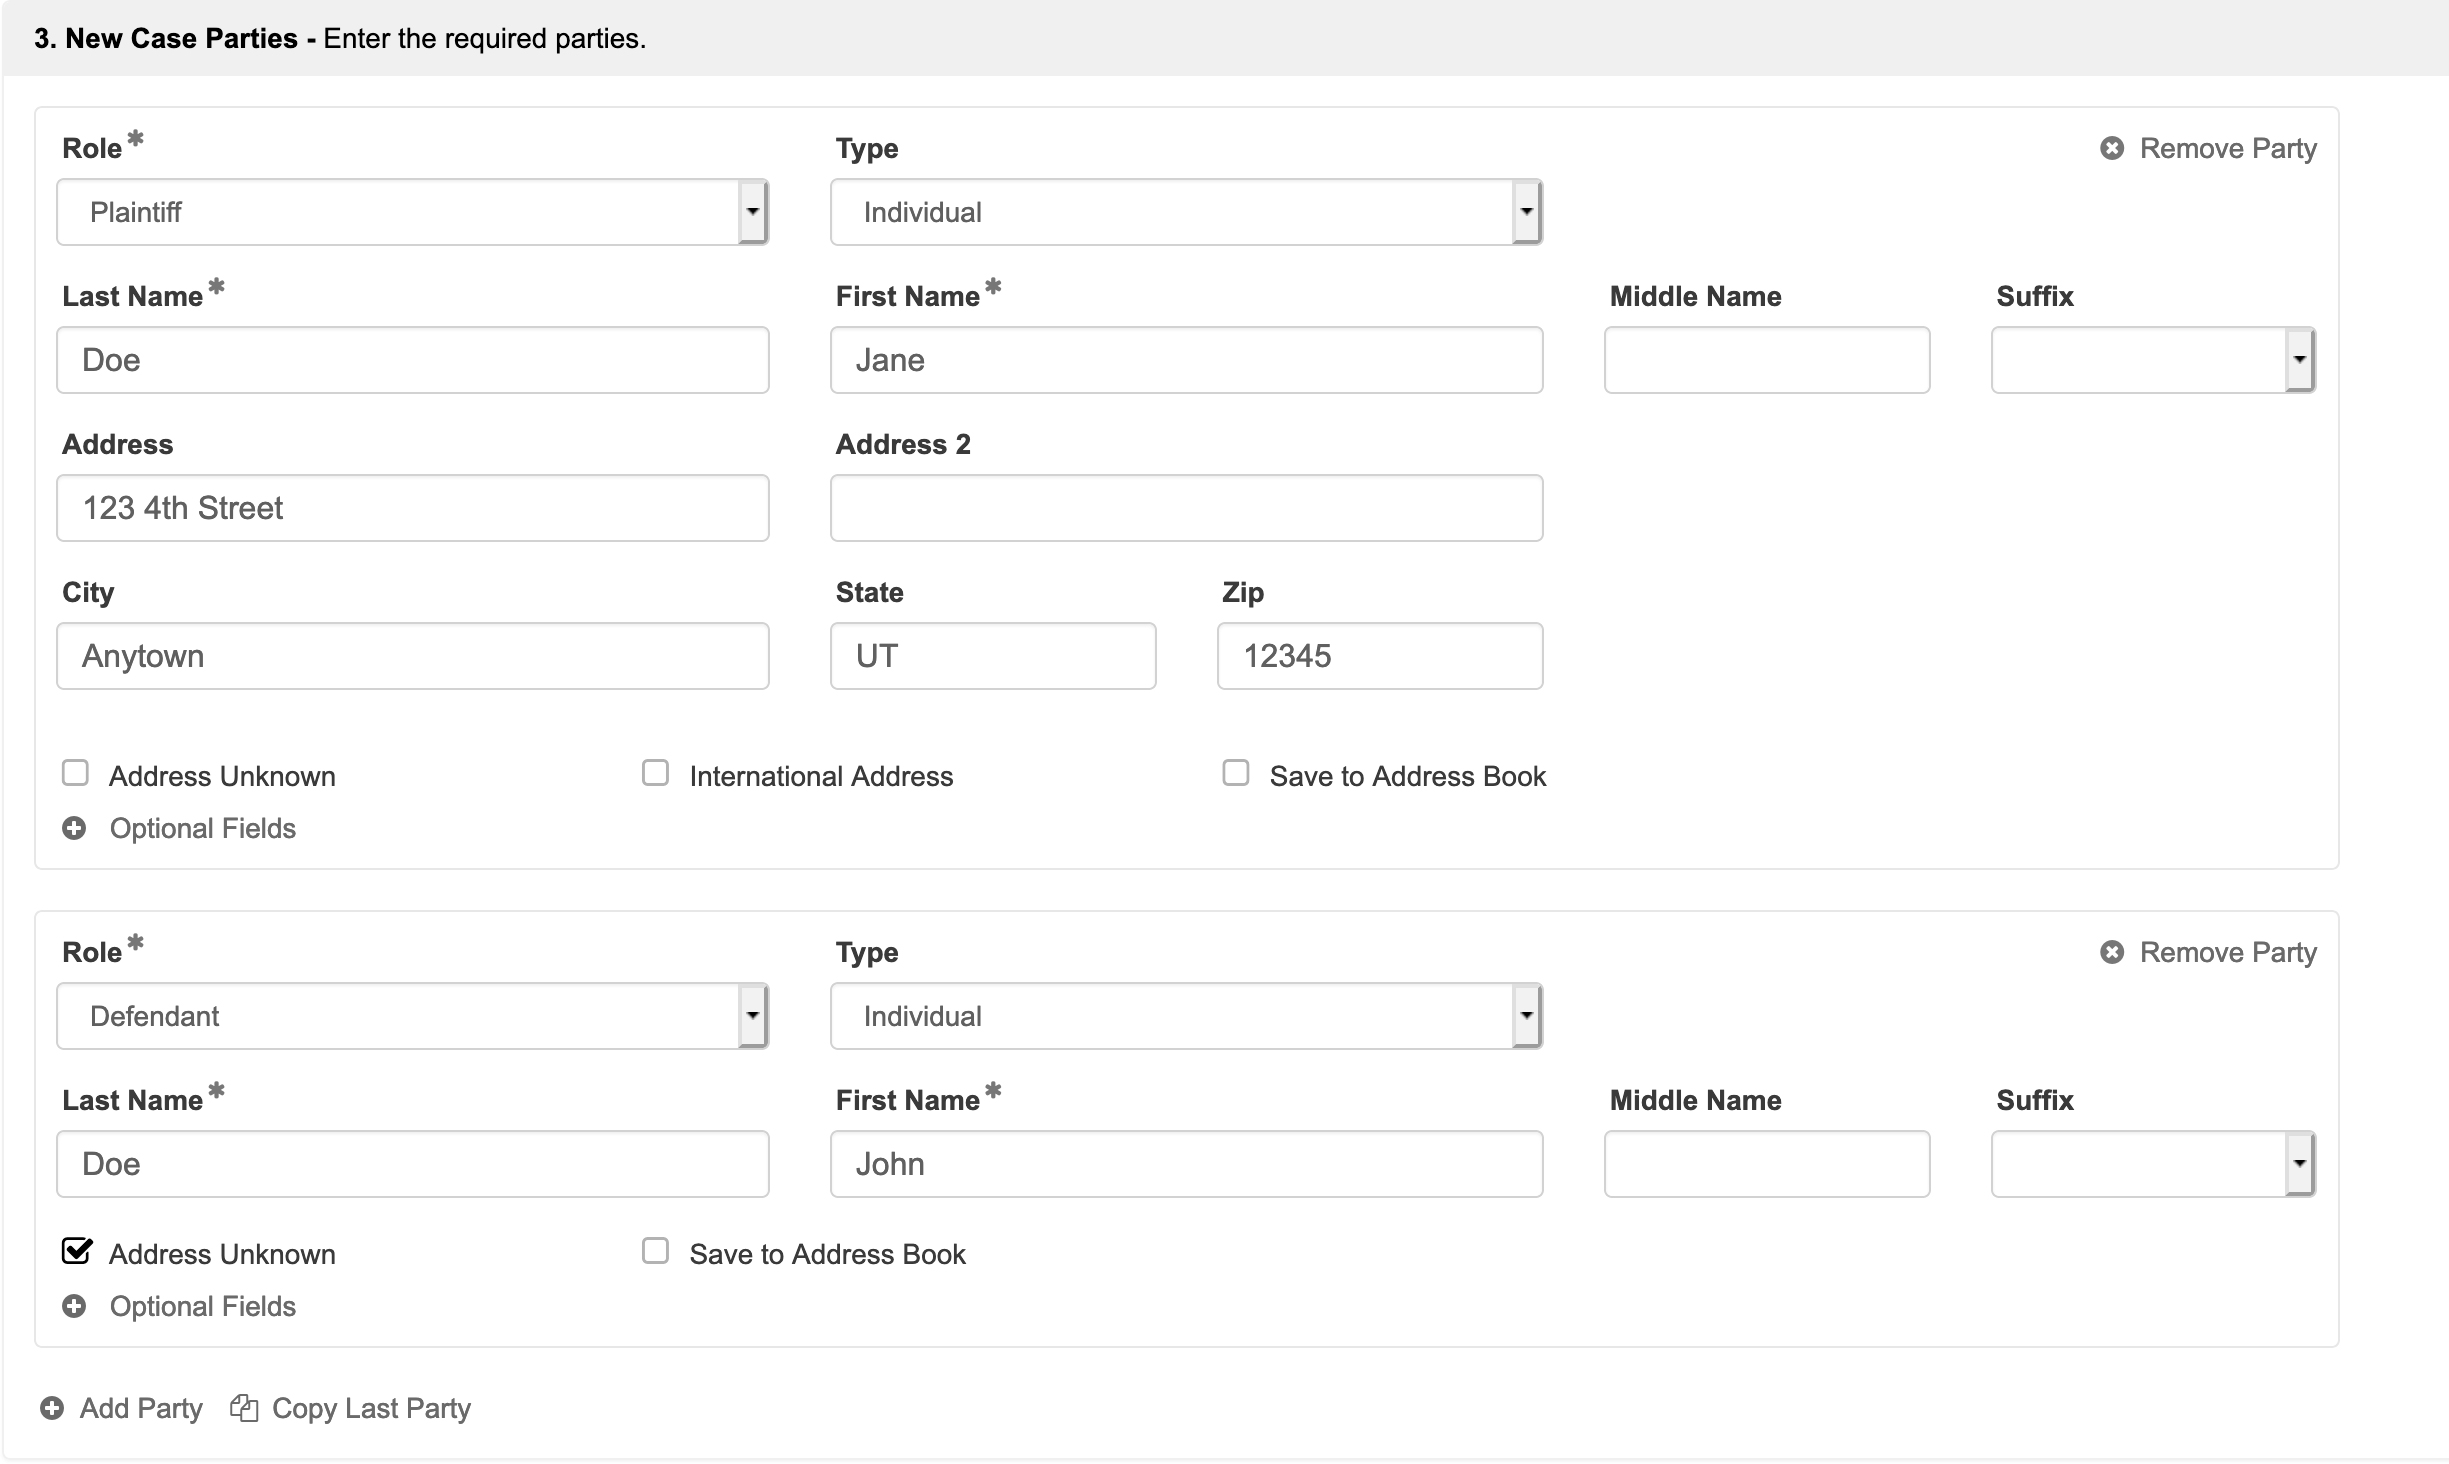
New Case Parties – Each case type you choose has required parties that must be defined. You may add more parties by clicking the Add Parties link at the bottom of this section, but you must still have the court’s required roles in order to file.
4. Complaint Amount – Enter the amount of the claim, if applicable.
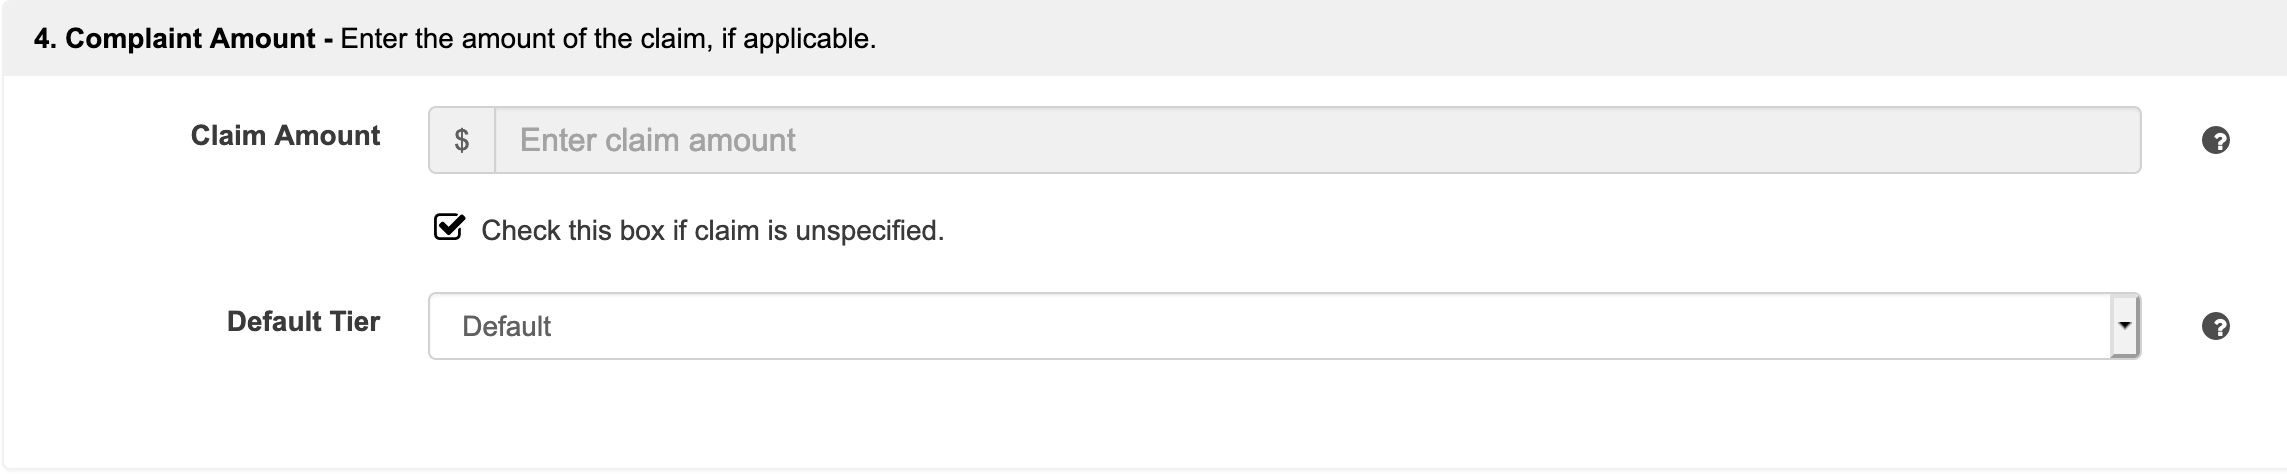
Enter your Complaint Amount, Jury Demand, or Default Tier if applicable.
5. Additional Info – Enter any additional information that is required for this filing type.
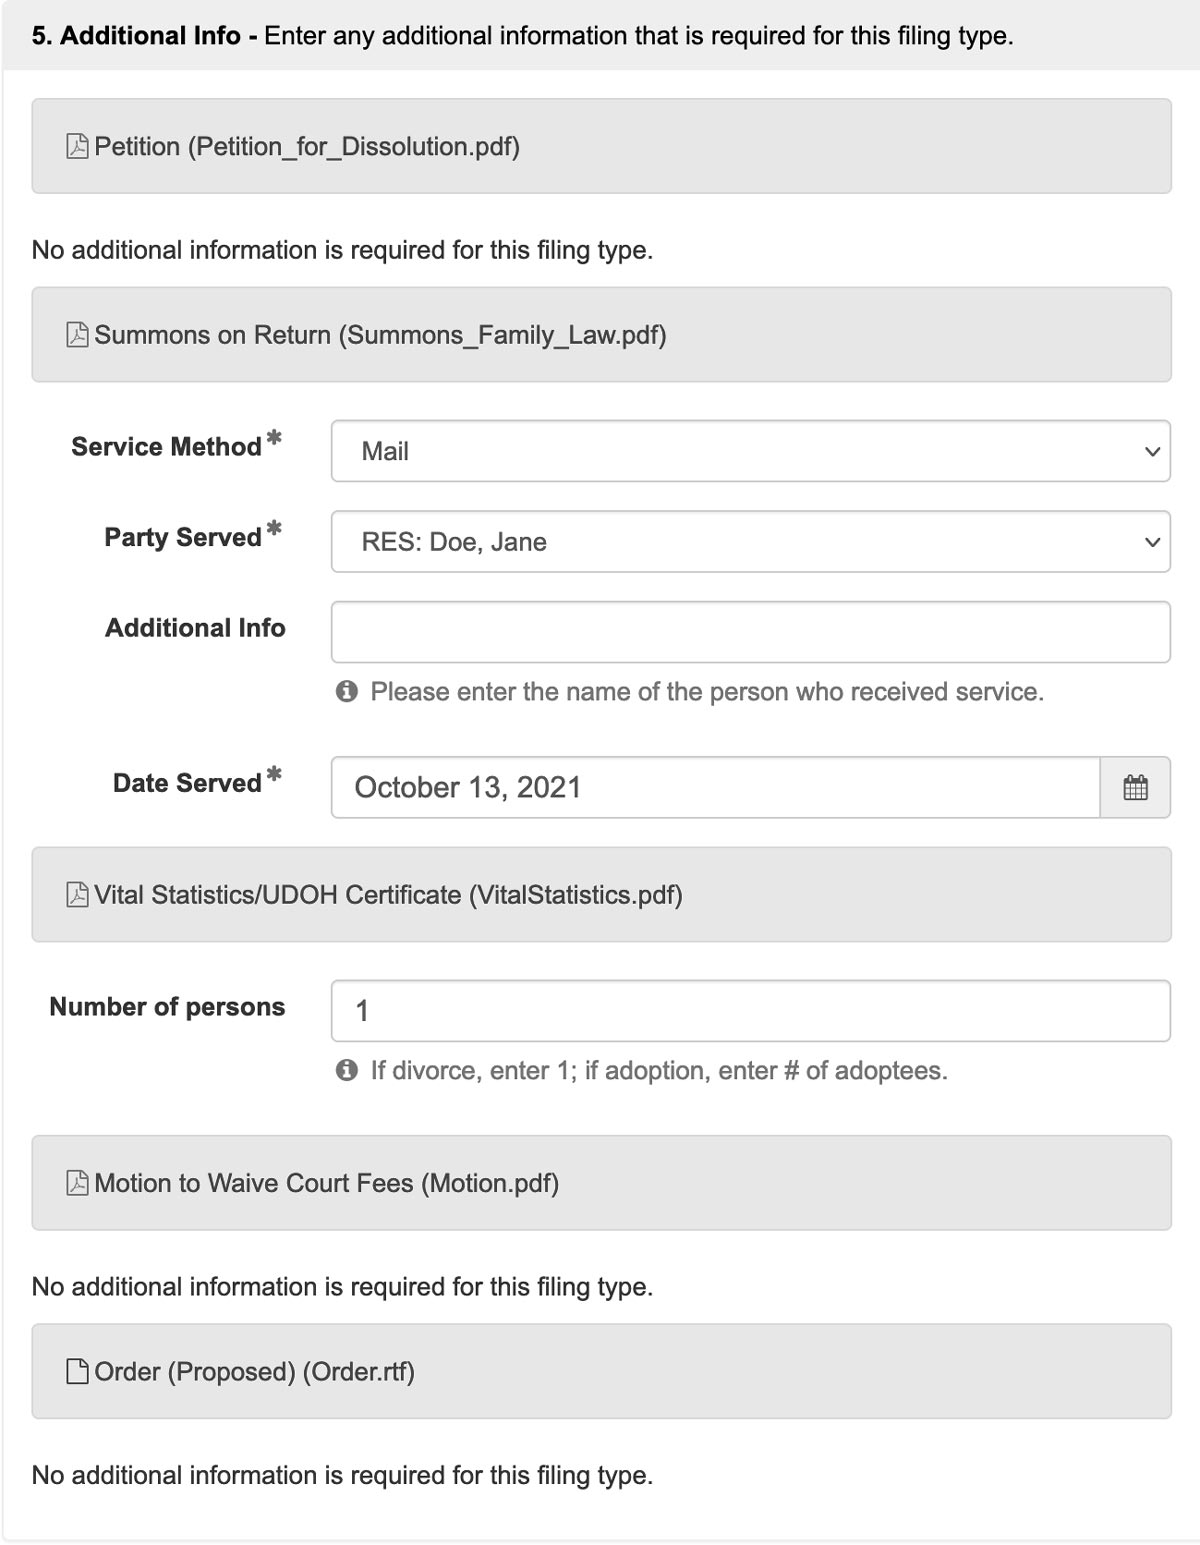
Enter any Additional Information that the court requires for this filing type. Anything with a red asterisk is required.
6. Filing Fees – Select or enter a payment method to pay court filing fees.
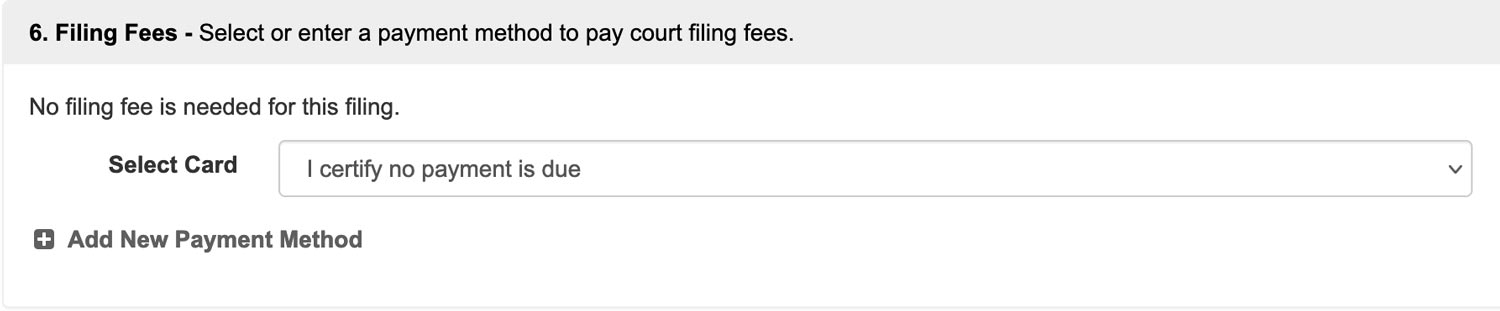
With the document types Motion to Waive Court Fees AND Order (Proposed) correctly added in section 2. Add Documents, no filing fee will be needed for this filing.
In the Select Card field, I certify no payment is due will be the only option to select in the drop down.
7. Review & Submit – Finalize your filing, review, and submit.
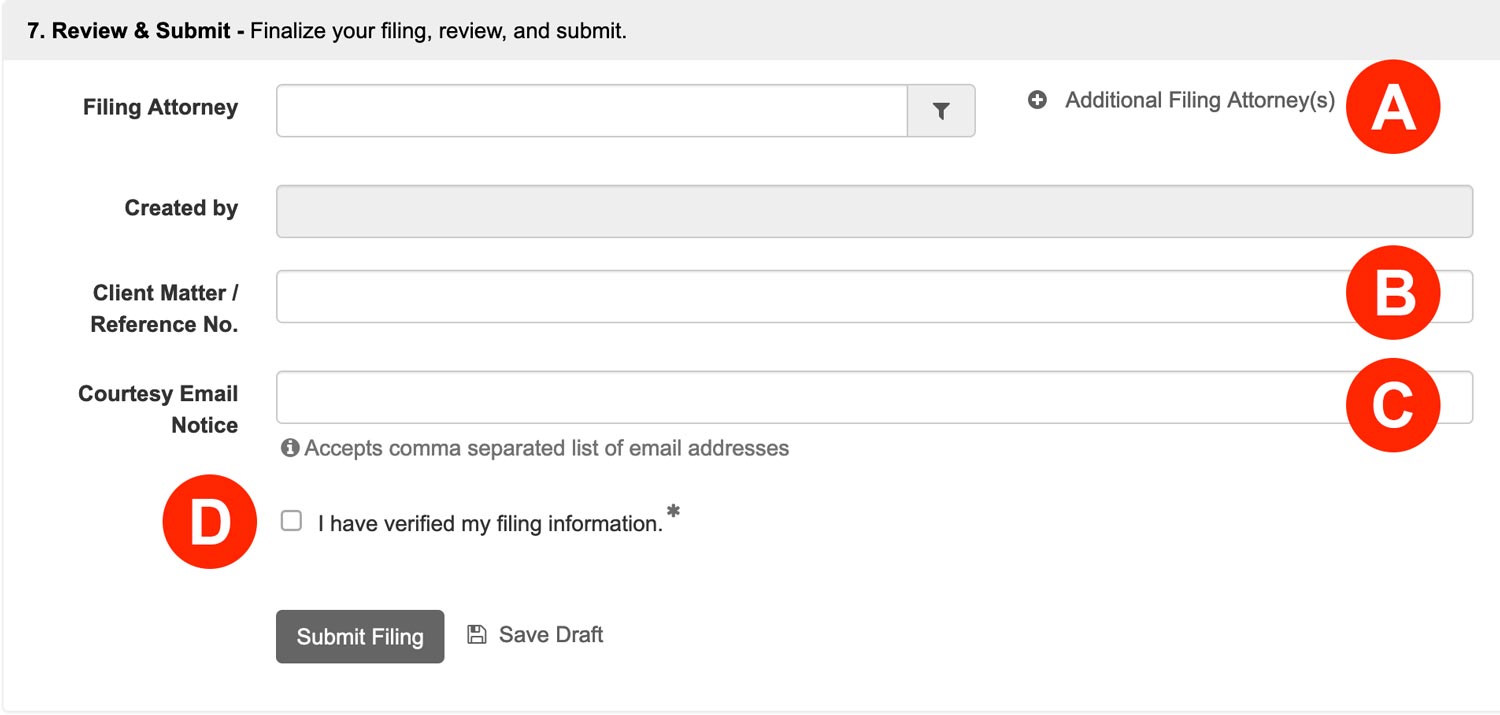
- Filing Attorney – If you are Filing for an Attorney, select them from the menu. You may also Add Additional Attorneys.
- Client Matter / Reference No. – If your firm uses any sort of Client Matter No, enter it here.
- Courtesy Email Notice – If you want an unofficial copy of the filing to go to anyone associated with the case, like a client, enter their email(s) in this field.
- Review your entire filing for accuracy, Then check the box to acknowledge you have verified your filing information.
Click the Submit Filing button to send your filing to the court.